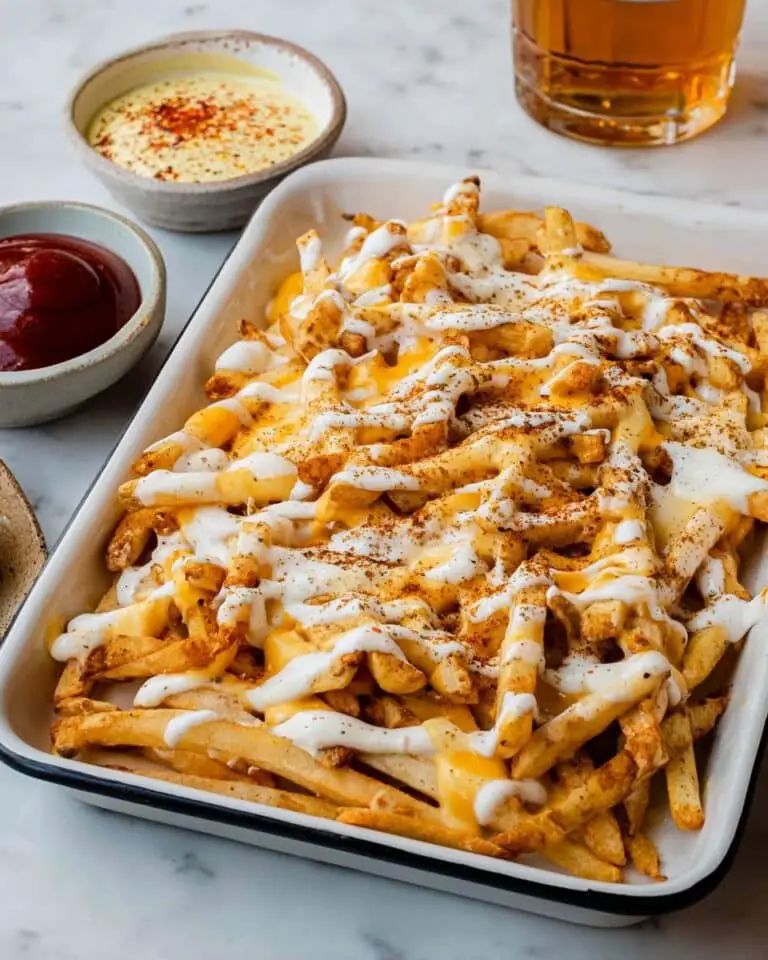
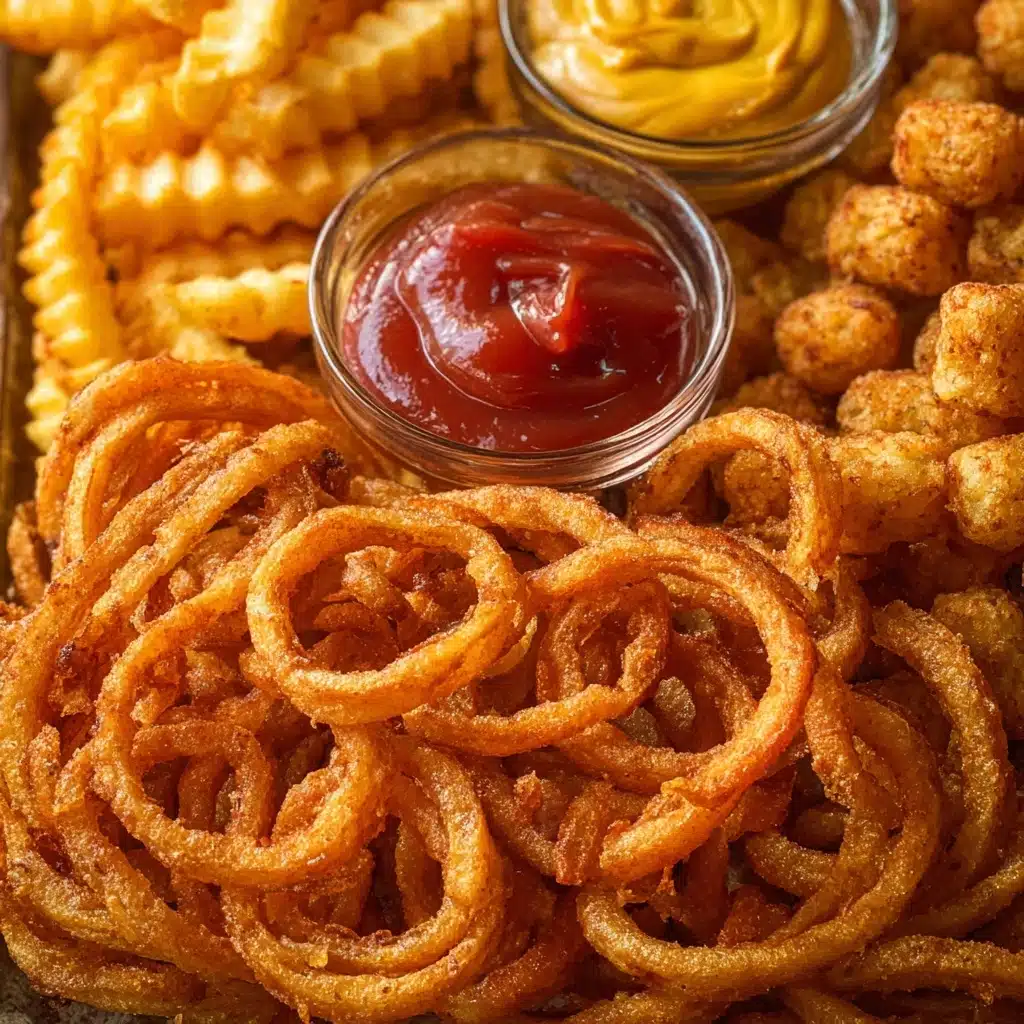
If you’re looking for a fun, showstopping way to share everyone’s favorite comfort food, the French Fry Board is your new go-to idea. Imagine a big, beautiful platter loaded with crispy, golden fries of every kind, paired with a rainbow of irresistible dips—that’s what a French Fry Board brings to the table! It’s an absolute favorite for parties, family gatherings, or even a cozy movie night, and it couldn’t be easier to prepare. If you love the idea of mixing textures, flavors, and pure joy in every bite, this French Fry Board will steal the show.
Ingredients You’ll Need
The magic of a French Fry Board is in its simplicity—just a few well-chosen frozen fries and crowd-pleasing sauces. Each type of fry and dip adds its unique twist, bringing a symphony of crispy edges, fluffy centers, and bold flavors. Here’s what you’ll gather:
- Frozen Curly Fries: These deliver maximum crunch and eye appeal with their fun spirals and seasoning.
- Frozen Tater Tots: The ultimate poppable potato bites—crispy outside and perfectly tender inside.
- Frozen Sweet Potato Fries: Add an irresistible touch of sweet and earthy flavor plus gorgeous color.
- Frozen Crinkle Cut Fries: Classic fries with ridges that hold onto every drop of your favorite dip.
- Frozen Fries (regular or steak fries): Choose your favorite for a satisfying potato punch—bigger fries, bolder bites.
- Ketchup: The timeless fry companion; tangy and sweet for that perfect nostalgic dip.
- Mayo: Smooth, creamy richness that brings out the best in crispy fries.
- Cheese Sauce: Melty, gooey cheese is pure decadence for dipping any fry.
- Honey Mustard: Sweet, tangy, and just a touch spicy—this dip wakes up every bite.
- Ranch: Herbaceous and cool, ranch is always a crowd-pleaser with fries.
How to Make French Fry Board
Step 1: Preheat Your Oven
Start by preheating your oven to 350 degrees Fahrenheit. This temperature ensures that all the fries bake evenly, turning golden and delicious without burning. It’s your secret to achieving that crave-worthy crunch while keeping prep totally stress-free.
Step 2: Arrange the Fries
Lay out all your frozen fries and tater tots on a large cookie sheet or two, depending on how many varieties you’re using. You can spray the sheet lightly with cooking spray to prevent sticking and guarantee maximum crispiness. Try to keep each fry type in its own section—this will look fabulous when you assemble your French Fry Board!
Step 3: Bake to Golden Perfection
Slide your tray into the oven and bake for 12 to 15 minutes. Check at the 12-minute mark and watch as those fries go from frosty to perfectly golden brown. Each fry type may crisp up at a slightly different rate, so keep an eye out and remove any that finish early—no one wants a burnt fry on their French Fry Board.
Step 4: Cool and Prep Your Board
Once baked, let the fries cool for 2 to 3 minutes on the sheet. This makes them easier to handle and helps them keep their crunch when you arrange them. Meanwhile, prepare your serving board or platter and gather small bowls for your sauces.
Step 5: Build Your French Fry Board
Transfer each kind of fry and tot onto your platter in generous, beautiful piles. Nestle in your bowls of ketchup, mayo, cheese sauce, honey mustard, and ranch. The final step is the most fun—arrange everything to show off the colors and shapes, then invite everyone to dig in!
How to Serve French Fry Board
Garnishes
To give your French Fry Board that polished, irresistible look, sprinkle on a bit of fresh chopped parsley or chives for color. If you love a little spice, a dusting of smoked paprika or chili flakes amps up the flavor. For an extra crunch, scatter a few sliced green onions or even crispy bacon bits over your fries—it’s the ultimate finishing touch.
Side Dishes
While the French Fry Board shines all on its own, it pairs beautifully with light, fresh sides. Try a crisp garden salad or a tangy slaw to balance out the richness. For a party spread, keep it simple with mini sliders or chicken wings served alongside, creating a casual feast everyone will talk about.
Creative Ways to Present
The wow factor of a French Fry Board is all in the presentation! Use a big wooden cutting board or a vibrant platter, and place sauce bowls in the center or scattered throughout. Stack fries in neat piles, fan them out, or make “borders” with your different fry varieties for a playful look. For a fun twist, try serving mini versions in individual cups or on a muffin tin for a personalized touch at gatherings.
Make Ahead and Storage
Storing Leftovers
If you have extra fries at the end of your snack session, don’t worry! Store any leftover fries and tots in an airtight container in the refrigerator. They’ll keep their best shape and flavor for up to 2 days, and you’ll be grateful for that easy next-day treat.
Freezing
While it’s best to bake fries fresh for that signature crispness, you can freeze any unbaked frozen fries you haven’t used for your next French Fry Board adventure. Cooked fries can be frozen, but may lose their texture; freeze in a single layer, and use them within a month for best results.
Reheating
To revive leftover fries and tater tots, spread them on a baking sheet and heat in a 400°F oven for 5-8 minutes. This method brings back much of their original crunch, unlike the microwave, which can make them soggy. A quick toss in the air fryer also works wonders!
FAQs
Can I make this French Fry Board with homemade fries instead of frozen?
Absolutely! If you love making fries from scratch, go for it. Homemade fries can add an extra layer of flavor and charm to your French Fry Board—just be sure to cut different shapes and bake or fry them separately for that picture-perfect platter.
What other dipping sauces can I include on the board?
Feel free to get creative! Add aioli, sriracha mayo, garlic butter, buffalo sauce, or even blue cheese dressing. A French Fry Board loves a from-scratch or store-bought dip, so load it up with whatever you’re craving.
How do I keep all the fries hot and crispy for serving?
Serve your French Fry Board immediately after baking, or keep fries warm on a low oven setting (around 200°F) until serving time. Avoid covering tightly, as trapped steam can soften the fries—presentation is important, but so is that satisfying crunch!
Can I make a gluten-free version of the French Fry Board?
You sure can! Just choose gluten-free brands for your fries and double-check that your dipping sauces have no hidden sources of gluten. Many stores carry a great variety of gluten-free frozen fries and tots.
Is the French Fry Board kid-friendly?
Very much so—it’s a huge hit with kids and adults alike! Customize your board with their favorite fries and dips, and watch even the pickiest eaters happily join the fun. Plus, it’s a great way to let everyone build their own plate.
Final Thoughts
There’s just something delightfully fun about gathering around a French Fry Board, sharing laughter and stories as you dip and snack your way through all those crispy, golden bites. However simple or creative you make it, this is one dish that’s almost guaranteed to spark joy. I hope you’ll give it a try soon—your next get-together deserves a French Fry Board that everyone will remember.
Print
French Fry Board Recipe
- Prep Time: 5 minutes
- Cook Time: 20 minutes
- Total Time: 30 minutes
- Yield: 1 large platter (serves 4-6 people as an appetizer)
- Category: Appetizers
- Method: Baking
- Cuisine: American
- Diet: Vegetarian
Description
The French Fry Board is the ultimate party platter, featuring a medley of crispy fries—curly, tater tots, sweet potato, crinkle cut, and steak fries—served hot and golden with a variety of classic dips. Perfect for gatherings, game days, or anytime you want to indulge in comfort food with a fun twist.
Ingredients
Fries
- 2 cups frozen curly fries
- 2 cups frozen tater tots
- 2 cups frozen sweet potato fries
- 2 cups frozen crinkle cut fries
- 2 cups frozen regular or steak fries
Dipping Sauces
- 1/2 cup ketchup
- 1/2 cup mayonnaise
- 1/2 cup cheese sauce
- 1/2 cup honey mustard
- 1/2 cup ranch dressing
Instructions
- Preheat the Oven: Set your oven to 350°F (175°C) to ensure even and consistent cooking for all types of fries.
- Prepare the Fries: Arrange all the frozen fries and tater tots in a single, even layer on a large cookie sheet. For crisper fries, spray the pan lightly with cooking spray before adding the fries.
- Bake the Fries: Transfer the pan to the oven and bake for 12-15 minutes, or until the fries are golden brown and crispy. Check occasionally to avoid burning and to ensure even browning.
- Cool Slightly: Remove the fries from the oven and let them cool on the pan for 2-3 minutes. This makes them easy to handle and lets them crisp up just a bit more.
- Serve with Dips: Pour each dipping sauce into small serving cups or ramekins, arranging them on a platter or board. Place the variety of fries around the dips and serve immediately while hot.
Notes
- The amounts of each fry and dip can be adjusted depending on the number of people or your favorite types.
- If you want extra crispy fries, increase the oven temperature to 400°F and check for doneness sooner.
- Add additional toppings like chopped green onions, shredded cheese, or crumbled bacon for more flair.
- This platter is completely customizable—try adding onion rings or waffle fries for more variety.
Nutrition
- Serving Size: 1/6 of board
- Calories: 370
- Sugar: 3g
- Sodium: 710mg
- Fat: 19g
- Saturated Fat: 3g
- Unsaturated Fat: 14g
- Trans Fat: 0g
- Carbohydrates: 45g
- Fiber: 4g
- Protein: 5g
- Cholesterol: 8mg

