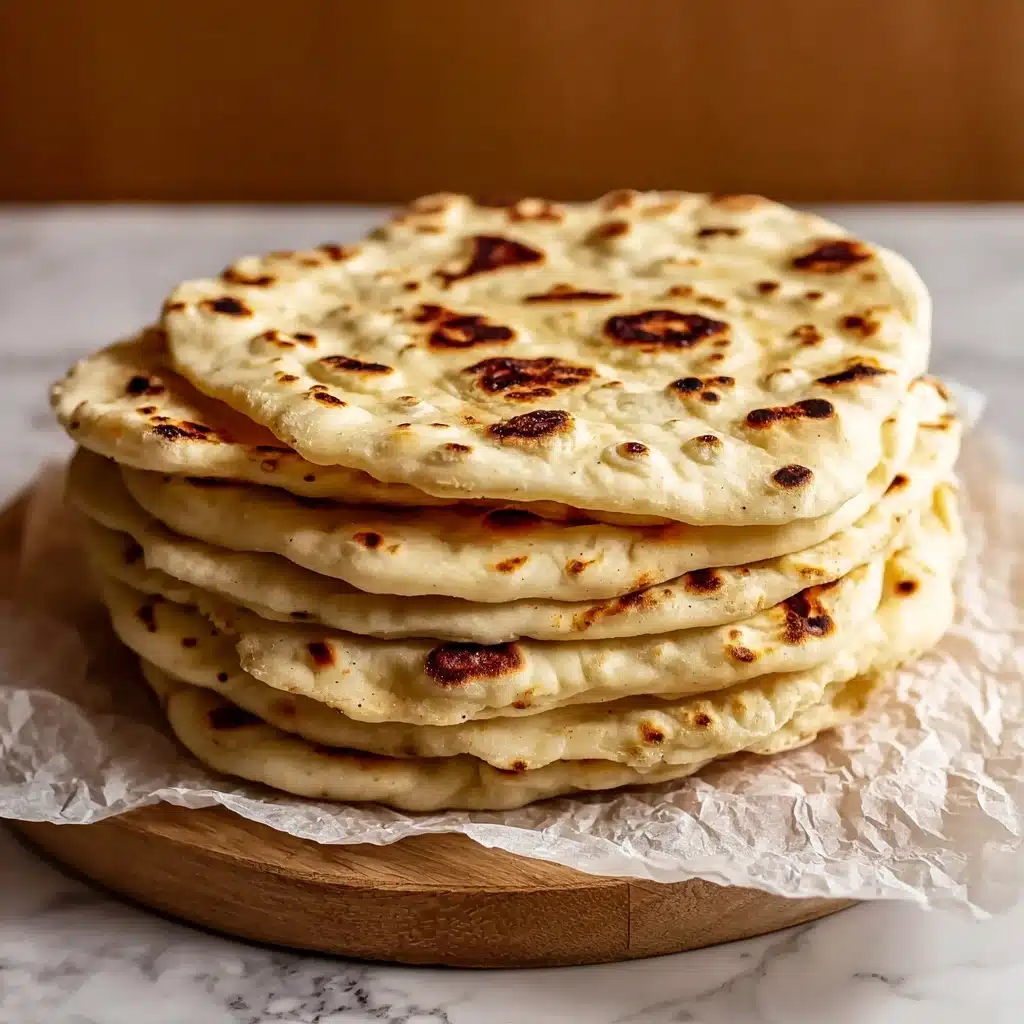
There’s something downright magical about baking fresh bread at home, and this Vegetarian pita bread recipe is my go-to when I want something pillowy, golden, and infinitely versatile. Perfect for scooping up dips, stuffing with fillings, or even just enjoying warm from the pan, these pitas are simple to make and way more satisfying than anything pre-packaged. If you’ve ever dreamed of filling your kitchen with the aroma of freshly baked bread—without any complicated steps—this Vegetarian pita bread will steal your heart (and your taste buds) in no time!
Ingredients You’ll Need
The ingredients for this pita bread are refreshingly basic, but each one plays a big part in creating that soft, chewy, golden result. Don’t skip a thing—these pantry staples come together in a way that’s far greater than the sum of their parts!
- All-purpose flour: Gives the pitas their classic soft and fluffy texture—keep extra handy for dusting your surface when shaping.
- Active dry yeast: The secret to that beautiful rise and airy pockets inside your pita.
- Kosher salt: Enhances every single bite and brings out the flavors in the bread.
- Warm milk: Helps to tenderize the dough and add a subtle richness.
- Warm water: Keeps the dough perfectly hydrated and encourages the yeast to work its magic.
- Olive oil: Adds flavor, a supple mouthfeel, and prevents the dough from sticking to the pan or bowl.
- Melted garlic and herb butter (optional): If you love extra flavor, a quick brush of this after cooking sends the pitas over the top.
How to Make Vegetarian
Step 1: Mix the Dry Ingredients
Start by grabbing your largest mixing bowl—it’ll give the dough plenty of room to expand later. Whisk together the all-purpose flour, active dry yeast, and kosher salt so everything is evenly distributed. This even mixing is important for a smooth rise, so don’t hurry the process!
Step 2: Combine Liquids and Form the Dough
Add the warm milk and water to your bowl of dry ingredients, then stir until it just starts to come together. Pour in the olive oil and use your hands to knead the mixture right in the bowl. Work it until the dough turns smooth and cohesive—you’re not just mixing, you’re waking up that yeast!
Step 3: Let the Dough Rise
Lightly oil a separate clean bowl (use your fingers, it’s honestly so satisfying), place the dough inside, and give it a light oil coat all over. Cover tightly with plastic wrap and set it somewhere warm for about an hour, or until it’s doubled in size. This slow rise is key for those classic pita pockets!
Step 4: Shape the Pitas
Sprinkle your work surface with flour, then gently turn out the dough. Divide it into 8 equal pieces. Shape each into a ball with your hands, then roll them out with a rolling pin into rounds about ¼-inch thick and 7-8 inches wide. Uniform size means they’ll all cook evenly.
Step 5: Cook the Pitas
Heat a cast iron pan over high and swirl in a touch of olive oil. Pop a pita round into the pan and let it cook about a minute, until you see bubbles on top and golden spots on the bottom. Drizzle a bit more oil, flip, and cook the other side until golden. Repeat for the rest—your kitchen will smell amazing!
Step 6: Optional Vegetarian Finishing Touch
If you want the ultimate finish, brush the warm pitas with melted garlic and herb butter just after cooking. It adds an aromatic flair and even more craveable flavor.
How to Serve Vegetarian
Garnishes
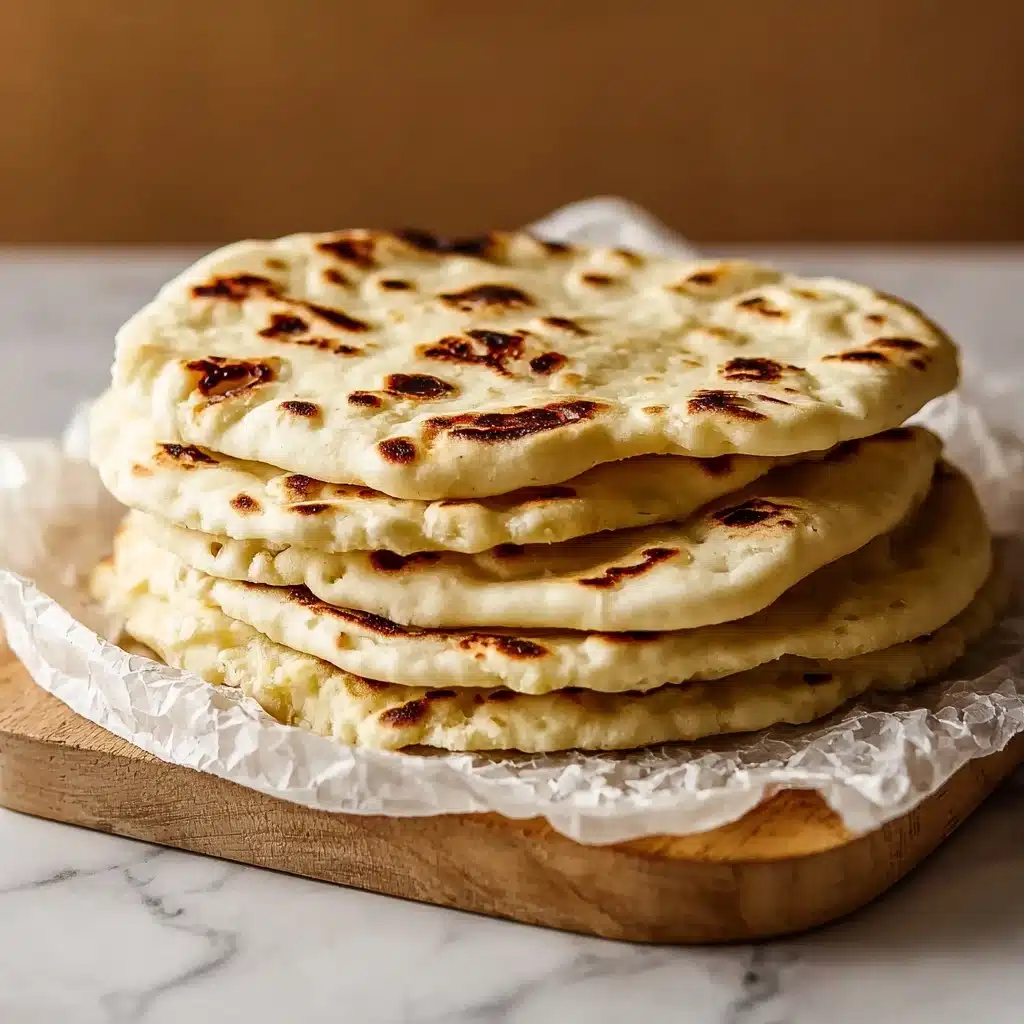
Nothing beats the warm glow of fresh Vegetarian pita bread, but simple touches—like a sprinkle of chopped fresh herbs, flaky salt, or a dusting of za’atar—create a bakery-style finish right at home. Try brushing with a bit more olive oil or even a pinch of sumac for a tangy twist.
Side Dishes
Pair these pitas with a bright, crunchy salad, a big bowl of hummus, or roasted eggplant dip. They’re the perfect companion to a Vegetarian mezze spread or even a hearty lentil stew. You honestly cannot go wrong—think of them as your delicious canvas for dipping and scooping!
Creative Ways to Present
From stuffing them with falafel and crisp veggies to slicing into wedges for dipping, there are so many Vegetarian-approved ways to serve. Turn them into mini pizzas, toast for a crunchy snack, or use as a wrap for grain salads. They’re endlessly customizable and always crowd-pleasing.
Make Ahead and Storage
Storing Leftovers
If you find yourself with extra Vegetarian pita bread (lucky you!), let them cool completely, then stack and wrap in foil, or place them in an airtight container. They’ll stay fresh and soft at room temperature for a day or two, or up to a week chilled in the fridge.
Freezing
This pita bread recipe is perfect for meal prep! Once cooled, layer parchment between each pita and freeze in a zip-top bag or airtight container. They’ll keep for up to two months, ready to grab and reheat whenever your Vegetarian cravings strike.
Reheating
To enjoy that just-baked feel, sprinkle the pitas lightly with water and warm them in a 350-degree oven wrapped in foil for about 5 minutes. For a quick fix, pop them in the toaster or warm briefly in a dry skillet—don’t overcook, or they could dry out.
FAQs
Can I use whole wheat flour instead of all-purpose?
Absolutely! You can substitute half of the all-purpose flour with whole wheat for a nuttier, fiber-rich Vegetarian pita, though the texture will be slightly denser than the classic version.
Why didn’t my pitas puff up?
A common cause is dough that hasn’t risen enough or rounds that are too thick or thin. Also, make sure your pan is fully preheated and on high heat to help those signature air pockets form.
Can I make the dough ahead of time?
Yes, you can store the formed dough in the fridge overnight after the first rise. Just let it come to room temperature before shaping and cooking your Vegetarian pitas for the best texture.
How do I keep the pitas soft after cooking?
Stack them up and wrap in a clean kitchen towel as you cook each round. The steam will help keep them perfectly soft and pliable, just ideal for wrapping or stuffing.
What if I don’t have a cast iron pan?
Not a problem! A heavy-bottomed nonstick skillet will work too, just make sure you maintain high heat. Pitas might not get as much char but will still be perfectly delicious and Vegetarian-friendly.
Final Thoughts
Baking your own Vegetarian pita bread is honestly one of those small kitchen victories that never gets old. It tastes worlds better than store-bought and is so much fun to make—especially when served warm with your favorite dips and fillings. I hope you’ll give this recipe a try and let it become a new favorite in your Vegetarian kitchen! Happy baking!
Print
Fluffy Homemade Pita Bread
- Prep Time: 1 hour 5 minutes
- Cook Time: 13 minutes
- Total Time: 1 hour 18 minutes
- Yield: 8 pita breads
- Category: Bread
- Method: Stovetop
- Cuisine: Middle Eastern, Mediterranean
- Diet: Vegetarian
Description
This easy homemade pita bread recipe yields soft, chewy, and perfectly puffy rounds with a tender bite. Made with simple pantry staples and ready in just over an hour, these versatile pitas are delicious fresh from the pan, brushed with garlic herb butter, or used for stuffing, dipping, and wraps. No special equipment required—just a hot skillet and a few basic ingredients for warm, bakery-style results!
Ingredients
For the Dough
- 1 ½ cups all-purpose flour, plus more for surface
- 1 tablespoon active dry yeast
- 1 teaspoon kosher salt
For Mixing & Cooking
- ⅓ cup warm milk
- ⅓ cup warm water
- 2 tablespoons olive oil, plus more for the bowl and pan
Optional for Finishing
- Melted garlic and herb butter (optional, for brushing after cooking)
Instructions
- Mix Dry Ingredients: In a large mixing bowl, combine the all-purpose flour, active dry yeast, and kosher salt. Stir well to evenly distribute the dry components.
- Add Liquids and Form Dough: Pour the warm milk and water into the flour mixture. Stir together until just combined, then add the olive oil. Use your hands to knead the dough in the bowl for a few minutes until it becomes smooth and cohesive.
- First Rise: Lightly oil a separate bowl and transfer the dough into it. Roll the dough around to coat its surface with oil. Cover the bowl with plastic wrap and let it rest for about 1 hour, or until the dough has doubled in size.
- Shape the Pitas: Dust your work surface with flour and turn out the risen dough. Divide the dough into 8 equal pieces. Shape each into a circle with your hands, then roll them out to ¼-inch thickness (about 7-8 inches wide) using a rolling pin.
- Cook the Pitas: Heat a cast iron pan over high heat. Add about 1 teaspoon of olive oil to the pan. Place a rolled dough round in the pan and cook for about 1 minute, until bubbles appear and the bottom is golden. Drizzle a little oil on the uncooked side, flip, and cook for another minute until both sides are golden and the pita is cooked through. Repeat with the remaining dough.
- Optional Finishing Touch: For extra flavor, brush the warm, cooked pitas with melted garlic and herb butter just before serving, if desired.
Notes
- Ensure your water and milk are warm (not hot) to help activate the yeast and achieve a good rise.
- Allow the dough to rest until it’s truly doubled in size for light and fluffy pitas.
- Cover cooked pitas with a clean kitchen towel to keep them soft and pliable while you cook the rest.
- Freeze extra pitas in an airtight bag for up to 2 months; reheat as needed.
- Feel free to replace half the all-purpose flour with whole wheat flour for a nuttier, more wholesome flavor and extra fiber.
Nutrition
- Serving Size: 1 pita bread
- Calories: 124
- Sugar: 1g
- Sodium: 296mg
- Fat: 4g
- Saturated Fat: 1g
- Unsaturated Fat: 3.5g
- Trans Fat: 0g
- Carbohydrates: 19g
- Fiber: 1g
- Protein: 3g
- Cholesterol: 1mg


