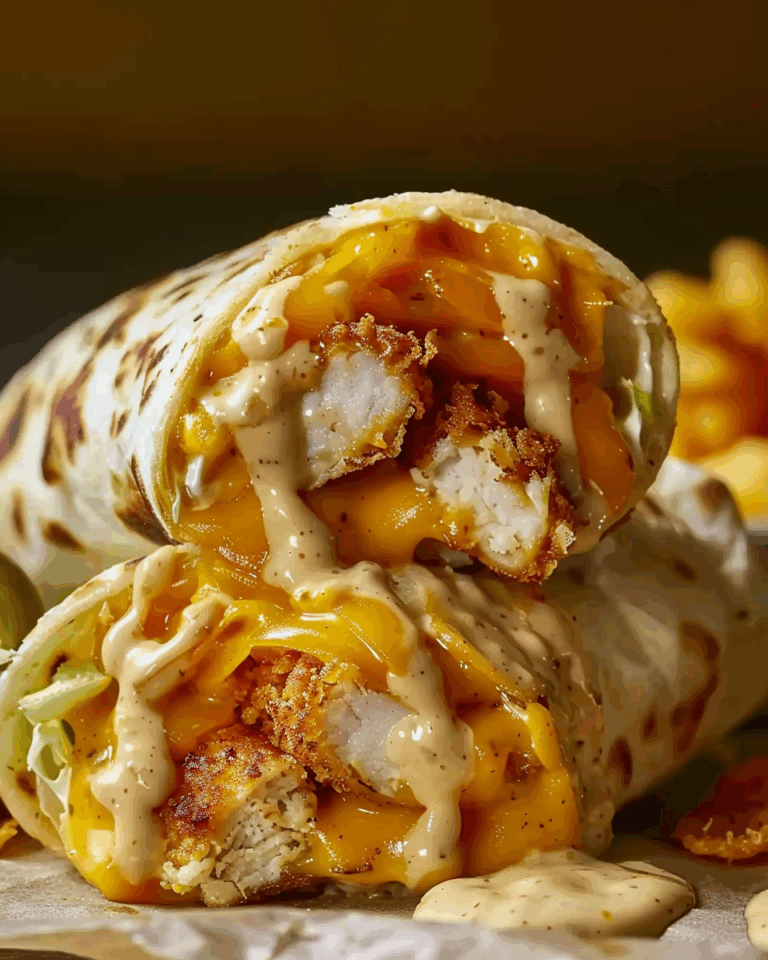
If you’re hunting for the ultimate comfort food that delivers bold flavors, melty cheese, and a garlicky kick, look no further than these Cheesy Garlic Chicken Wraps. This is a dish that checks every box: super quick prep, crowd-pleasing taste, and an irresistibly crispy bite. Whether you’re whipping up a cozy dinner for your family or wowing friends with a party snack, Cheesy Garlic Chicken Wraps are the answer—you’ll be making these on repeat!
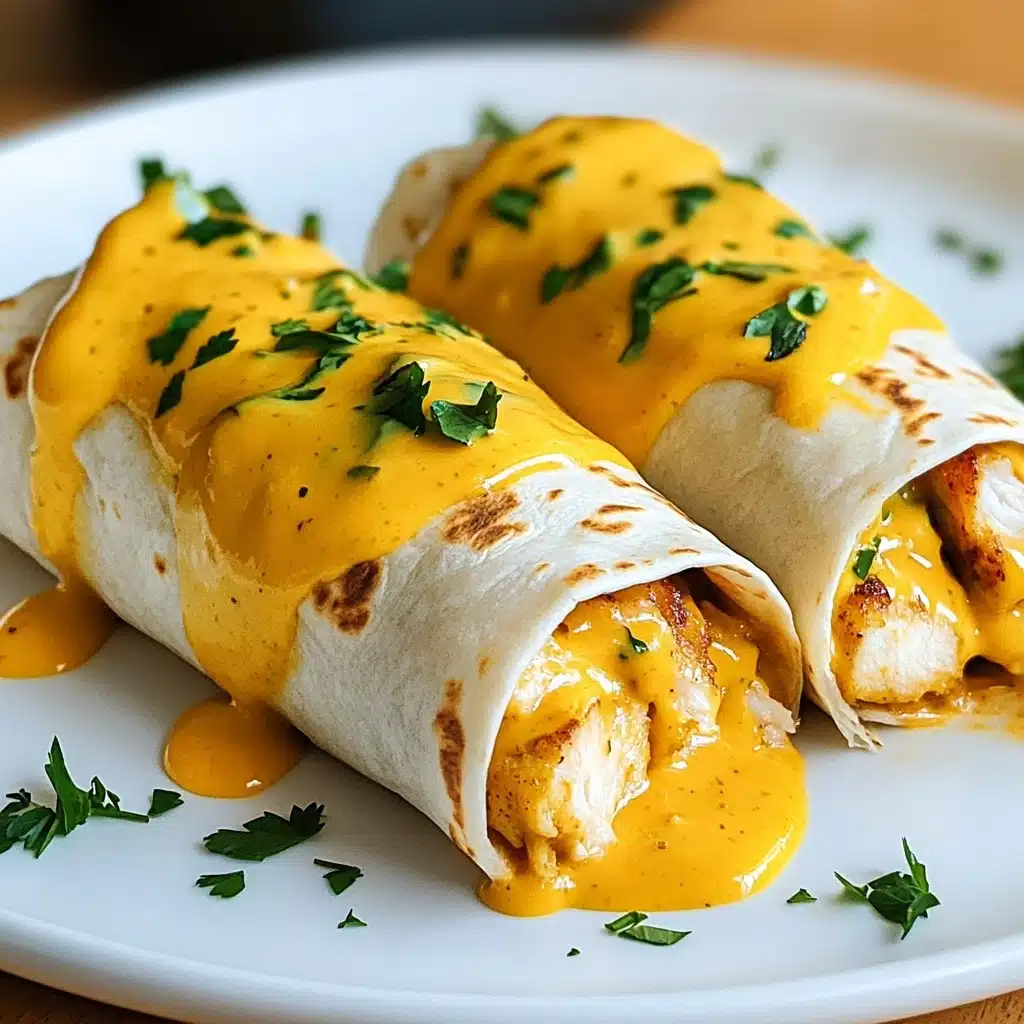
Ingredients You’ll Need
The magic behind Cheesy Garlic Chicken Wraps lies in a handful of straightforward ingredients—each one plays a crucial role in layering flavor and texture. From tender chicken to gooey cheese and aromatic garlic, these kitchen staples come together in a wrap that tastes like it took far more effort than it did.
- Cooked Chicken: Use leftover rotisserie chicken or bake your own for a hearty, protein-packed filling.
- Cream Cheese: This adds a creamy, velvety element that binds everything together.
- Shredded Cheddar Cheese: The cheddar melts beautifully for that signature cheesy goodness.
- Minced Garlic: Brings the wraps to life with robust, aromatic flavor.
- Onion Powder: Provides depth and a bit of subtle sweetness.
- Black Pepper: Adds a gentle kick and ties the flavors together.
- Large Tortillas: The sturdy yet soft vessels for your cheesy, garlicky filling.
- Chopped Fresh Parsley (optional): A touch of freshness and color to brighten up the wraps.
- Olive Oil or Butter: To crisp up the tortillas and add rich flavor as they toast.
How to Make Cheesy Garlic Chicken Wraps
Step 1: Prepare the Cheesy Garlic Chicken Filling
Start by grabbing a large mixing bowl and tossing in your diced or shredded cooked chicken. Add the cream cheese, shredded cheddar, minced garlic, onion powder, black pepper, and parsley if you’re using it. Mix everything until you’ve got a satisfying, cohesive mixture. The softened cream cheese will coat everything like a creamy hug, while that fresh burst of parsley adds unexpected brightness.
Step 2: Assemble Your Wraps
Lay out a large tortilla on your work surface. Spoon a generous mound of the cheesy garlic chicken filling onto the center—don’t be shy, let that filling be the star! Use the back of a spoon to spread it out evenly, leaving a little space around the edges to help with rolling. Fold in the sides first, then roll up tightly from the bottom to create a neat, compact wrap.
Step 3: Toast to Crispy Perfection
Heat up a non-stick skillet or grill pan over medium heat and brush on a bit of olive oil or butter. Place your wraps seam-side down (this keeps them from unraveling) and let them toast for 2-3 minutes, or until the underside is a gorgeous golden brown. Flip and repeat for another 2 minutes. What you’re after is that crispy, crunchy tortilla—pure wrap nirvana!
Step 4: Slice and Serve with Style
When your Cheesy Garlic Chicken Wraps are crispy and golden on both sides, transfer them to a cutting board and let them rest for a moment. Slice each wrap in half on the diagonal for a little extra flair, then plate them up while they’re still warm and gooey. Serve with your favorite salad or a creamy dipping sauce.
How to Serve Cheesy Garlic Chicken Wraps
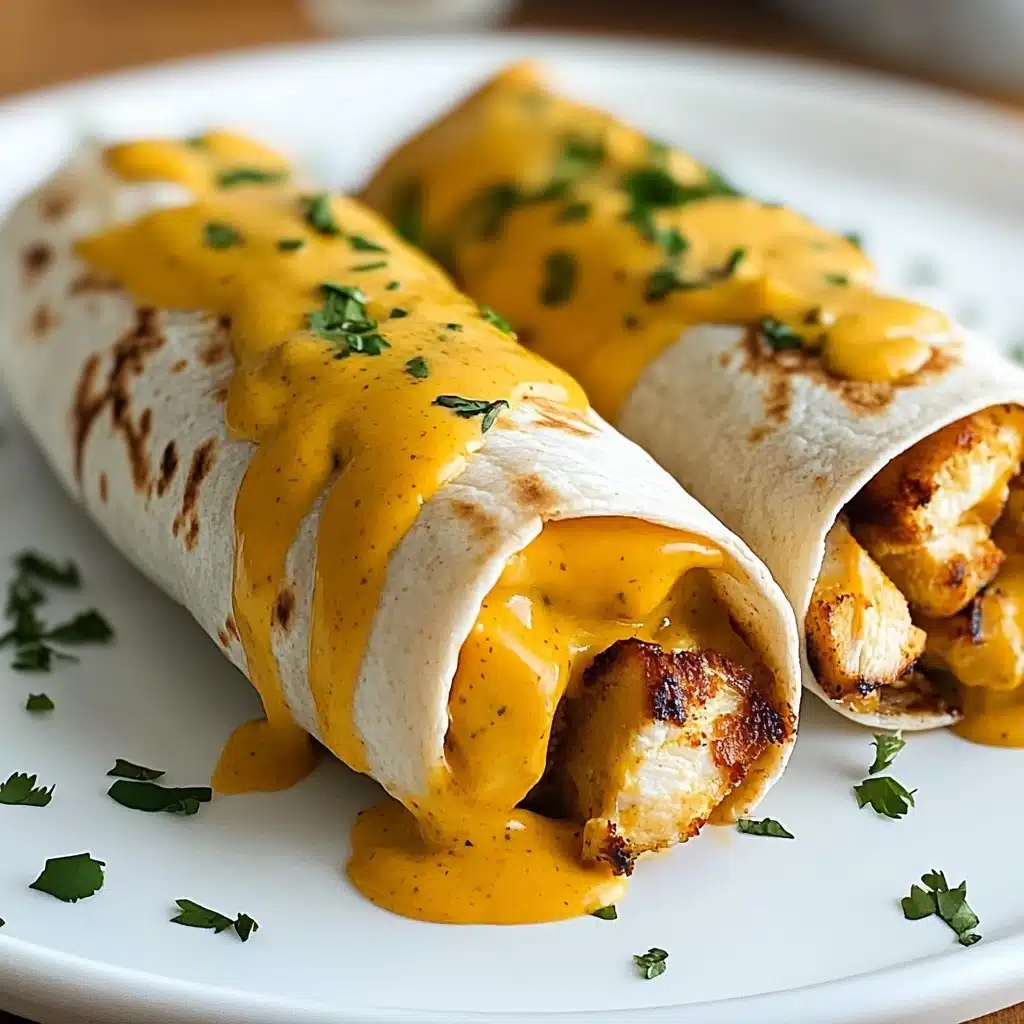
Garnishes
Take your Cheesy Garlic Chicken Wraps to the next level with a sprinkle of chopped fresh parsley or cilantro. For a real wow factor, try a dusting of grated parmesan or a squeeze of lemon juice—both will brighten up the rich, savory flavors and make your wraps shine.
Side Dishes
These wraps are so hearty, they can easily stand alone, but they also pair beautifully with crisp salad greens, a bowl of tomato soup, or classic potato wedges. If you’re feeling fancy, set out a trio of dipping sauces—think ranch, garlic aioli, or a spicy chipotle mayo—to customize every bite.
Creative Ways to Present
For parties or family gatherings, slice the wraps into smaller pinwheels for an irresistibly snackable appetizer. Arrange them on a large platter with a colorful array of dipping bowls. Or, serve Cheesy Garlic Chicken Wraps in a lunchbox with some fresh veggies and fruit for a wholesome, satisfying midday meal.
Make Ahead and Storage
Storing Leftovers
If you have leftover Cheesy Garlic Chicken Wraps, let them cool completely before wrapping tightly in plastic wrap or foil. Store them in the refrigerator for up to 3 days. Keeping them snug helps preserve their crispiness and prevents the filling from drying out.
Freezing
These wraps are freezer-friendly! To freeze, lay the cooled wraps on a baking sheet until solid, then transfer to a zip-top freezer bag or airtight container. They’ll keep for up to 2 months. Just remember to label with the date, so you’ll know when it’s time for another Cheesy Garlic Chicken Wraps night!
Reheating
For the best texture, reheat your Cheesy Garlic Chicken Wraps in a non-stick skillet over medium heat until warmed through and crispy again. If you’re in a hurry, you can microwave them, but the tortilla won’t be as crunchy. An oven or toaster oven is another great option if you’re heating multiple wraps at once.
FAQs
Can I use rotisserie chicken for the filling?
Absolutely! Rotisserie chicken is one of the easiest shortcuts for this recipe. It’s flavorful, already cooked, and shreds perfectly, making assembly a breeze.
What other cheeses work well in these wraps?
While cheddar is a classic, you can swap in mozzarella for extra stretchiness, Monterey Jack for a milder flavor, or even pepper jack for a spicy kick. Mixing cheeses creates a more complex taste.
Are Cheesy Garlic Chicken Wraps good for meal prepping?
Definitely! Prepare the filling up to two days in advance and keep it in the fridge. Assemble and toast the wraps just before eating for the freshest bite.
Can I make these wraps gluten-free?
Yes, simply substitute your favorite gluten-free tortillas. The rest of the ingredients are already gluten-free, so everyone can enjoy this cheesy goodness.
How do I keep the wraps from getting soggy?
Allow the wraps to cool before storing, and wrap them tightly to lock out moisture. For the crispiest reheated results, always use a skillet or oven rather than the microwave.
Final Thoughts
There’s something downright magical about the combination of melty cheese, tender chicken, and garlicky goodness all wrapped in a crispy tortilla—that’s why Cheesy Garlic Chicken Wraps will forever hold a place in my recipe rotation. Give these a try the next time you crave something fast, flavorful, and fun, and enjoy every bite!
Print
Cheesy Garlic Chicken Wraps Recipe
- Prep Time: 10 minutes
- Cook Time: 10 minutes
- Total Time: 25 minutes
- Yield: 4 wraps
- Category: Main-course
- Method: Stovetop
- Cuisine: American
- Diet: Halal
Description
These Cheesy Garlic Chicken Wraps are the ultimate quick-fix comfort food, featuring tender chicken mixed with creamy cheeses and infused with bold garlic flavor. Wrapped in tortillas and toasted until golden, they’re perfect for an easy weeknight dinner or a satisfying snack everyone will love.
Ingredients
Main Filling
- 2 cups cooked chicken, diced or shredded
- 1/4 cup cream cheese, softened
- 1/2 cup shredded cheddar cheese
- 1 tsp minced garlic
- 1/2 tsp onion powder
- 1/4 tsp black pepper
- 2 tbsp chopped fresh parsley (optional)
Wraps
- 4 large tortillas
For Toasting
- 1 tbsp olive oil or butter, for toasting
Special Equipment
- Non-stick skillet or grill pan
- Spatula for flipping wraps
Instructions
- Prepare the Filling: In a mixing bowl, combine the cooked chicken, cream cheese, shredded cheddar cheese, minced garlic, onion powder, black pepper, and parsley if using. Mix well until all the ingredients are evenly incorporated and the mixture is creamy.
- Assemble the Wraps: Lay one tortilla flat on a clean surface. Spoon a generous amount of the chicken and cheese filling onto the center. Spread it out evenly, leaving about 1 inch around the edges. Fold in the sides, then roll up tightly to form a wrap. Repeat for all tortillas.
- Toast the Wraps: Heat olive oil or butter in a non-stick skillet or grill pan over medium heat. Place the wraps seam-side down in the pan. Cook for 2-3 minutes until golden and crispy, then flip and toast the other side for another 2 minutes.
- Serve and Enjoy: Remove the wraps from the skillet, slice each in half if desired, and serve warm. Pair with a simple salad or your favorite dipping sauce for extra flavor.
Notes
- Use rotisserie or leftover chicken to cut down on prep time.
- Switch up the cheese—try mozzarella or pepper jack for a different flavor profile.
- Add sautéed peppers or spinach for extra veggies.
- Wraps can be made ahead and toasted right before serving for freshness.
- For a spicier kick, stir a pinch of chili flakes or a splash of hot sauce into the filling.
Nutrition
- Serving Size: 1 wrap
- Calories: 340
- Sugar: 2g
- Sodium: 520mg
- Fat: 18g
- Saturated Fat: 7g
- Unsaturated Fat: 9g
- Trans Fat: 0g
- Carbohydrates: 25g
- Fiber: 2g
- Protein: 22g
- Cholesterol: 68mg


