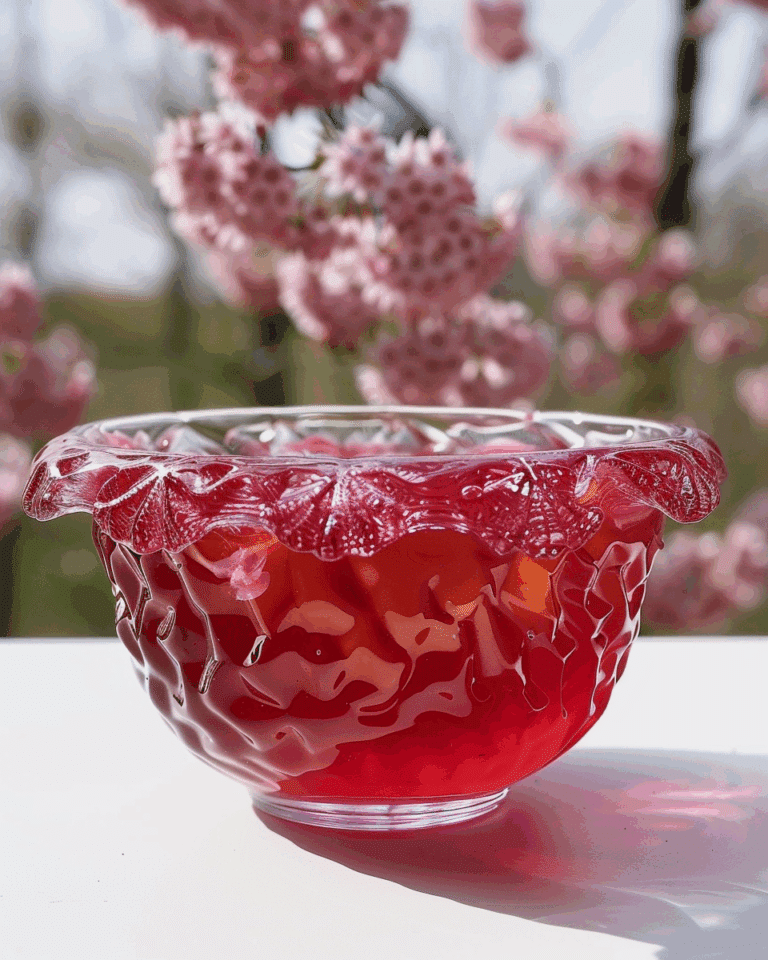
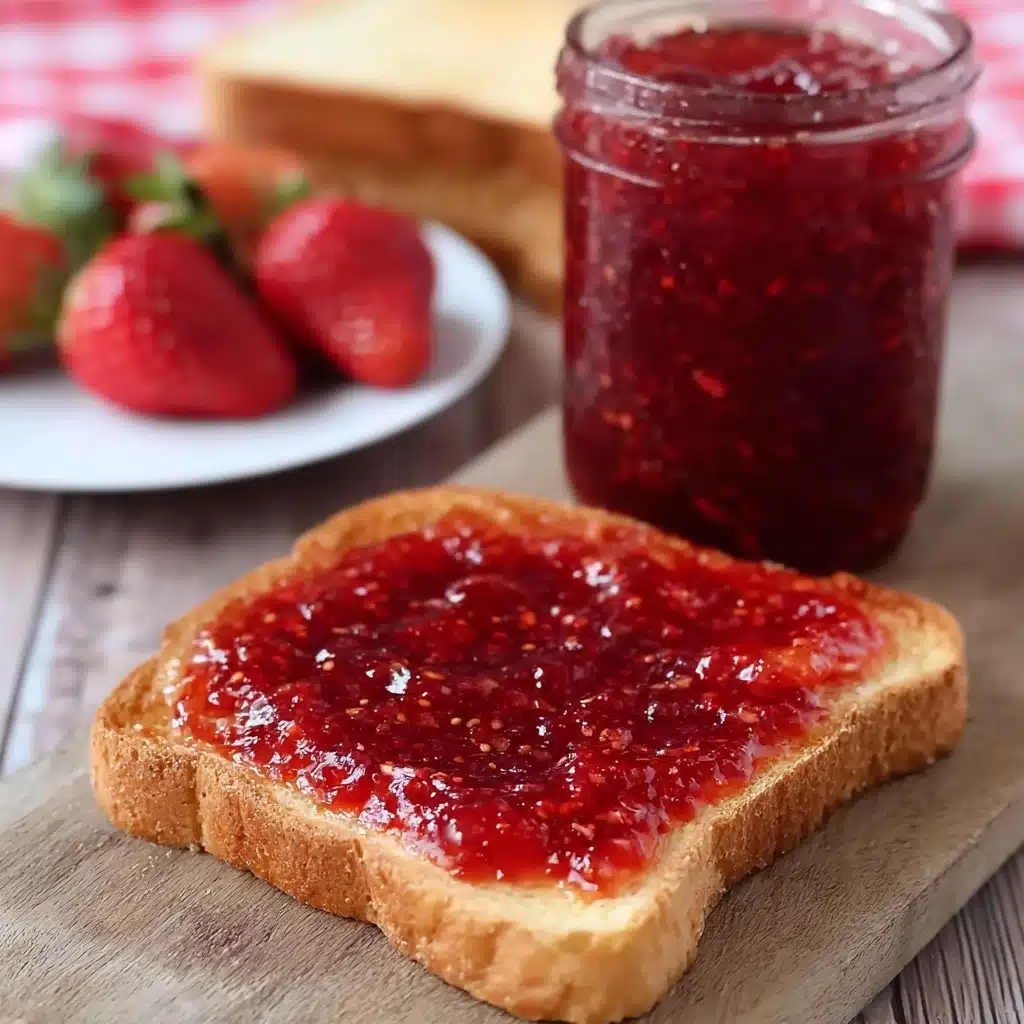
If you’ve ever wanted to bottle the essence of summer, this Homemade Strawberry Jam Recipe is exactly what you need in your kitchen. With just a handful of ripe berries, a touch of sugar, and a squeeze of lemon, you’ll transform simple ingredients into a glossy, jewel-toned spread bursting with natural sweetness. It’s easier than you think, and there’s nothing like scooping homemade jam onto toast, scones, or even a fresh biscuit—each bite is like a hug from a sunny day.
Ingredients You’ll Need
The beauty of this Homemade Strawberry Jam Recipe lies in how just a few familiar staples work together to create something truly magical. Each one plays an essential role in achieving the perfect balance of rich flavor, luscious texture, and that signature rosy color. Here’s what you’ll need and why you shouldn’t swap a thing:
- Fresh Strawberries: The star of the show, ripe strawberries give your jam its vibrant color and sweet-tart depth—be sure to use the freshest you can find for the brightest flavor.
- Granulated Sugar: More than sweetness, sugar helps the jam thicken and preserve, giving it that classic, shiny finish and keeping it safe to store.
- Fresh-Squeezed Lemon Juice: Just a tablespoon or two balances the sweetness, enhances the berries’ flavor, and naturally helps the jam set.
How to Make Homemade Strawberry Jam Recipe
Step 1: Prepare Your Equipment
Start by sterilizing your mason jars in boiling water to ensure nothing spoils your batch of jam. Make sure the jars are completely dry before setting them aside. This quick prep step is essential for giving your jam a fresh start and a nice, long shelf life in the fridge.
Step 2: Prep the Strawberries
Wash the strawberries thoroughly, remove all stems, and then dice them into small pieces. If you prefer a smooth jam, blend them until velvety, but if you’re like me and love rustic pockets of fruit, leave them chunky—each spoonful will be bursting with bits of berry.
Step 3: Combine Ingredients
In a large pot or deep saucepan, combine your chopped strawberries, the fresh-squeezed lemon juice, and all the granulated sugar. Stir them together so the berries are completely coated. This is where the magic starts—watch as the sugar draws out the sweet crimson juices in just minutes.
Step 4: Macerate the Strawberries
Let the mixture sit for about 10 to 15 minutes. In this short pause, the strawberries will begin releasing their natural juices, resulting in syrupy goodness that forms the foundation of your jam’s texture and flavor.
Step 5: Cook the Jam
Turn the heat to medium-low and gently stir with a rubber spatula, making sure the sugar melts completely. It’s important to scrape down the sides of the pot and spatula so every granule dissolves—this prevents grainy or crystalized jam later on.
Step 6: Simmer and Mash
Let your mixture simmer for 10 to 15 minutes, stirring frequently and mashing the strawberries as they soften. This step thickens the jam and intensifies the strawberry flavor, making your kitchen smell amazing.
Step 7: Boil to Perfection
Increase the heat to bring the mixture to a rolling boil, stirring constantly. Continue boiling until it reaches 220°F—the ideal temperature for jam to set. This process creates the glossy, spreadable texture that defines any good Homemade Strawberry Jam Recipe.
Step 8: Finishing Touches
Remove the pot from the heat. Skim off any foam from the surface if you want a clearer jam. Pour the jam into your prepared jar, leaving about a quarter inch at the top. Seal it right away and let it cool to room temperature. Refrigerate until the jam has set up and enjoy on everything from fresh-baked biscuits to vanilla ice cream.
How to Serve Homemade Strawberry Jam Recipe
Garnishes
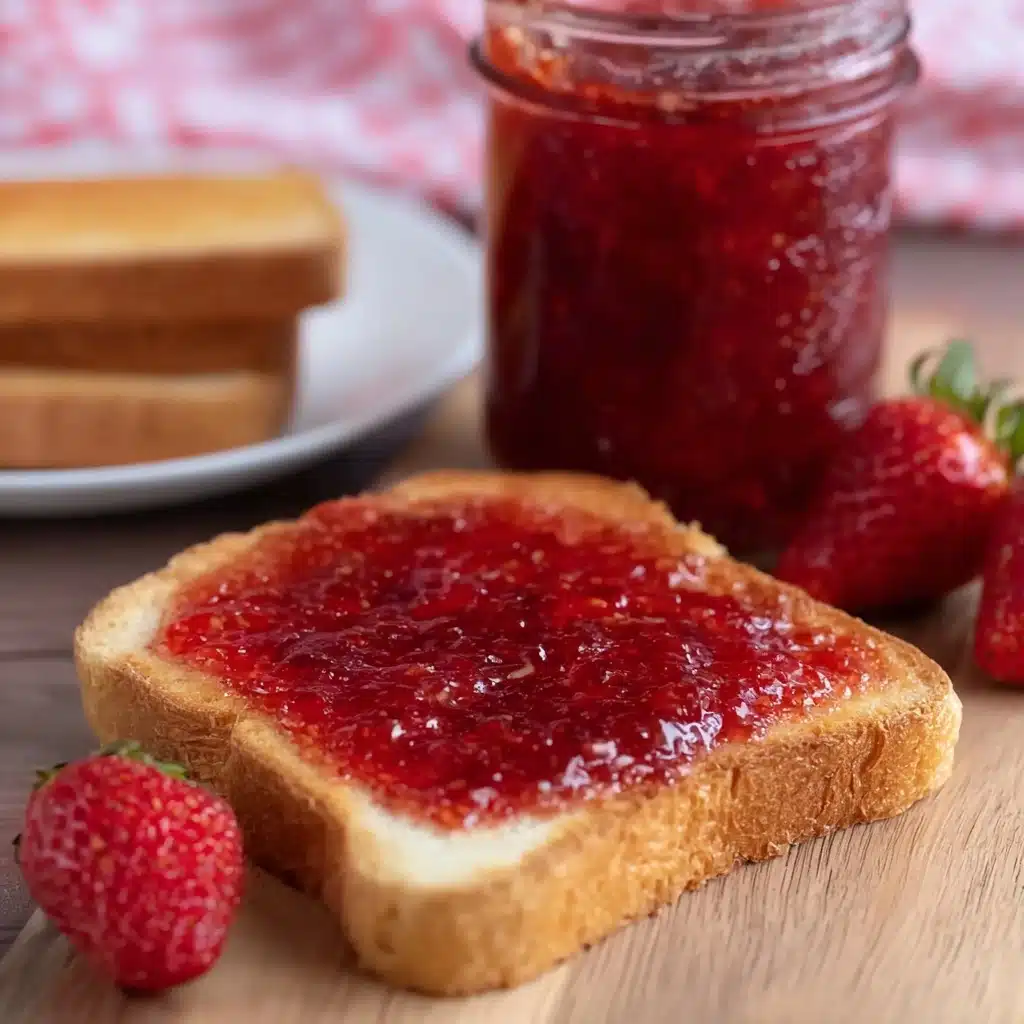
Sometimes a little flourish goes a long way! A sprig of fresh mint or a few thinly sliced strawberries atop your jam-topped toast gives an extra pop of freshness and color. Even a light dusting of powdered sugar makes breakfast feel like a special occasion.
Side Dishes
This jam shines on everything from buttered bagels to classic southern biscuits. Layer it on pancakes, waffles, or even a spoonful of Greek yogurt to kickstart your morning. For a savory twist, try pairing with creamy Brie and crackers for an unforgettable appetizer.
Creative Ways to Present
Homemade jam deserves the spotlight! Fill miniature jars to give as heartfelt gifts, or swirl a spoonful into oatmeal for gorgeous ribbons of color. You can even use your Homemade Strawberry Jam Recipe as a sumptuous topping for cheesecake, thumbprint cookies, or as a surprise layer in a Victoria sponge cake.
Make Ahead and Storage
Storing Leftovers
Store any leftover jam in the refrigerator as soon as it’s cooled completely. Use a clean spoon each time you dip in to help preserve freshness—it’ll keep beautifully for up to two weeks, giving you plenty of time to savor each spoonful.
Freezing
If you can’t finish your batch right away, Homemade Strawberry Jam Recipe freezes like a charm! Pour cooled jam into freezer-safe containers, leaving an inch of space for expansion, and freeze for up to three months. When you’re ready for more, just thaw it in the refrigerator overnight.
Reheating
If your jam thickens too much after chilling or freezing, just scoop the needed amount into a microwave-safe bowl and heat in 10-second bursts, stirring between each, until it’s smooth and spreadable again. This gentle method keeps the flavor fresh without overcooking.
FAQs
Why is lemon juice necessary in strawberry jam?
Lemon juice provides the acid needed for the pectin in strawberries to gel, helping your Homemade Strawberry Jam Recipe set without needing commercial pectin. It also brightens the overall flavor and helps preserve the vibrant color of your jam.
Can I use frozen strawberries instead of fresh?
Yes, you can substitute frozen berries when fresh aren’t in season. Just thaw and drain them well to reduce excess liquid, and proceed with the recipe as written—a delicious Homemade Strawberry Jam Recipe is still totally doable!
How do I know when my jam has reached the right consistency?
The classic cue is when the jam reaches 220°F on a candy thermometer. You can also do a “chill test:” Drop a spoonful of cooked jam on a cold plate, let it sit for a minute, then run your finger through it—if it wrinkles and holds its shape, you’re set.
Is this recipe safe for canning for long-term storage?
This Homemade Strawberry Jam Recipe is designed for short-term fridge (and freezer) storage, not traditional canning. If you want to can it for shelf storage, use a tested canning guideline to make sure your jam remains safe and shelf-stable.
Will the jam thicken more as it cools?
Absolutely! Don’t worry if your jam still looks a little loose after cooking. It will set up and thicken perfectly as it cools to room temperature and then chills in the fridge—patience makes perfect here.
Final Thoughts
There’s a special kind of satisfaction that comes from making this Homemade Strawberry Jam Recipe with your own two hands. Whether you enjoy it on warm toast, stirred into yogurt, or gifted to someone you love, the joy of fresh strawberry jam never wears off. Give it a try—even just once—and you’ll wonder how you ever settled for store-bought!
Print
Homemade Strawberry Jam Recipe
- Prep Time: 10 minutes
- Cook Time: 30 minutes
- Total Time: 40 minutes
- Yield: About 2 cups (24 servings)
- Category: Sauces-condiments
- Method: Stovetop
- Cuisine: American, Southern
- Diet: Vegetarian
Description
This homemade strawberry jam is a classic, easy-to-make spread bursting with fresh strawberry flavor. With just three simple ingredients—strawberries, sugar, and lemon juice—this recipe yields a vibrant, preservative-free jam perfect for topping toast, swirling into yogurt, or gifting to friends. Small-batch and quick to make, it’s ideal for beginners and jam enthusiasts alike.
Ingredients
Fruit
- 1 lb fresh strawberries, washed and stems removed
Sweetener
- 1¼ cups granulated sugar
Acid
- 1–2 tablespoons fresh-squeezed lemon juice
Instructions
- Sterilize the Jar: Bring a large pot of water to a boil. Submerge the mason jar and lid for a few minutes to sterilize. Remove carefully and dry completely. Set aside—a jar that holds at least two cups is ideal.
- Prep the Strawberries: Remove the green tops from the strawberries. Dice the strawberries into small pieces. For a smoother jam, puree the strawberries in a blender; for a more rustic jam, leave peaches chunky as they are chopped.
- Combine Ingredients: In a large pot or deep saucepan, add the strawberries, lemon juice, and sugar. Stir well, coating the berries with sugar.
- Let the Mixture Rest: Allow the mixture to sit for 10–15 minutes. The sugar will begin to draw out the juices from the strawberries, helping to develop the syrupy base for your jam.
- Dissolve the Sugar: Turn the heat to medium-low. Stir the mixture with a rubber spatula until all the sugar is fully melted and dissolved. Be sure to scrape down the sides of the pot and spatula to avoid undissolved crystals, which can cause the finished jam to crystalize.
- Simmer and Mash: Let the mixture simmer for 10–15 minutes, stirring frequently. As the strawberries soften, mash them gently with a potato masher to reach your desired consistency.
- Boil the Jam: Raise heat and bring the mixture to a full rolling boil. Continue boiling, stirring constantly, until the jam thickens and reaches 220°F (use a candy thermometer for accuracy). Constant stirring prevents burning.
- Finish and Jar: Remove the pot from heat. If any foam has formed on the surface, skim it off with a spoon. Carefully pour the hot jam into the prepared jar, leaving about a 1/4-inch of space at the top.
- Seal and Cool: Secure the lid on the jar right away, then let the jar stand at room temperature until fully cooled. The jam will continue to thicken as it cools.
- Refrigerate and Store: Once cooled, store the jam in the refrigerator. It will firm up as it chills and is best used within two weeks for maximum freshness.
Notes
- Texture: For a smoother jam, puree the strawberries before cooking. For a chunkier result, dice them and mash lightly while simmering.
- Storage: This small-batch jam is not shelf stable. Always store it in the refrigerator and consume within two weeks.
- Testing Doneness: To check if the jam has reached the correct consistency, place a small spoonful on a cold plate, wait a minute, and run your finger through it—if it wrinkles and holds its shape, it’s done.
- Sterilization: Properly sterilizing jars helps extend the fridge life and prevents spoilage.
Nutrition
- Serving Size: 1 tablespoon
- Calories: 35
- Sugar: 8g
- Sodium: 0mg
- Fat: 0g
- Saturated Fat: 0g
- Unsaturated Fat: 0g
- Trans Fat: 0g
- Carbohydrates: 9g
- Fiber: 0.5g
- Protein: 0g
- Cholesterol: 0mg


