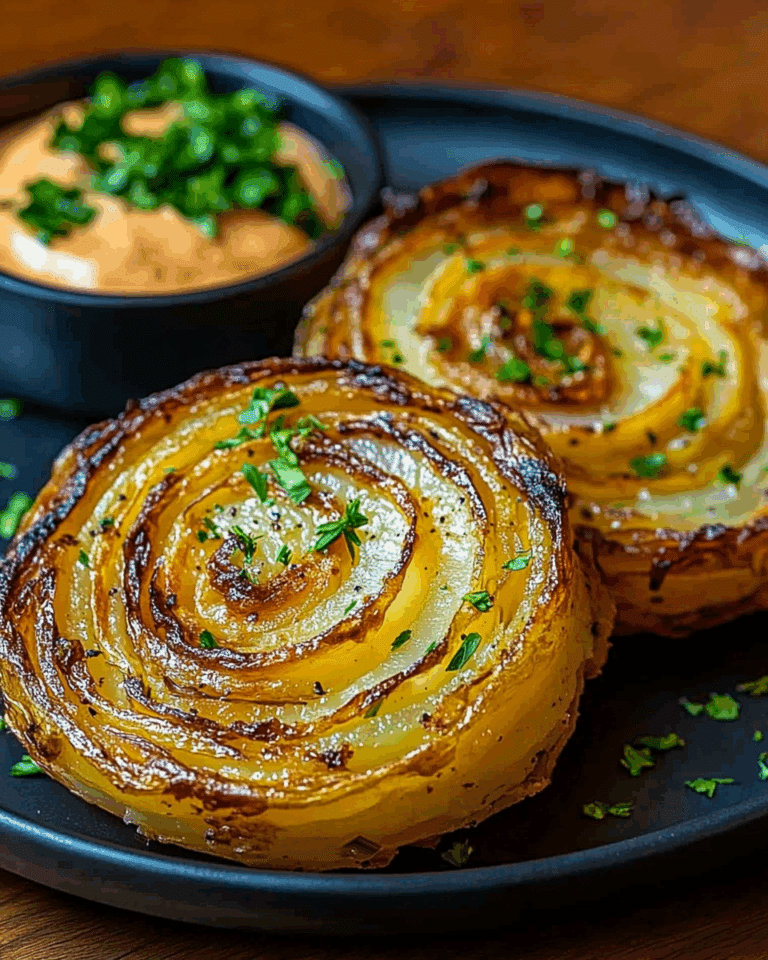
If you are looking for a comforting, delicious, and downright charming dish to brighten up your dinner table, this Hearty Stuffed Potato Nests Recipe will quickly become your go-to favorite. Imagine crispy-edged potato shells tenderly filled with a creamy, cheesy, and flavorful mixture of mashed potato, sharp cheddar, fresh chives, and just the right hint of garlic and onion—each bite bursting with warmth and satisfaction. Whether served as a main course or a decadent side, these potato nests are a cozy hug on a plate, perfect for any occasion where you want to treat yourself and loved ones to something special.
Ingredients You’ll Need
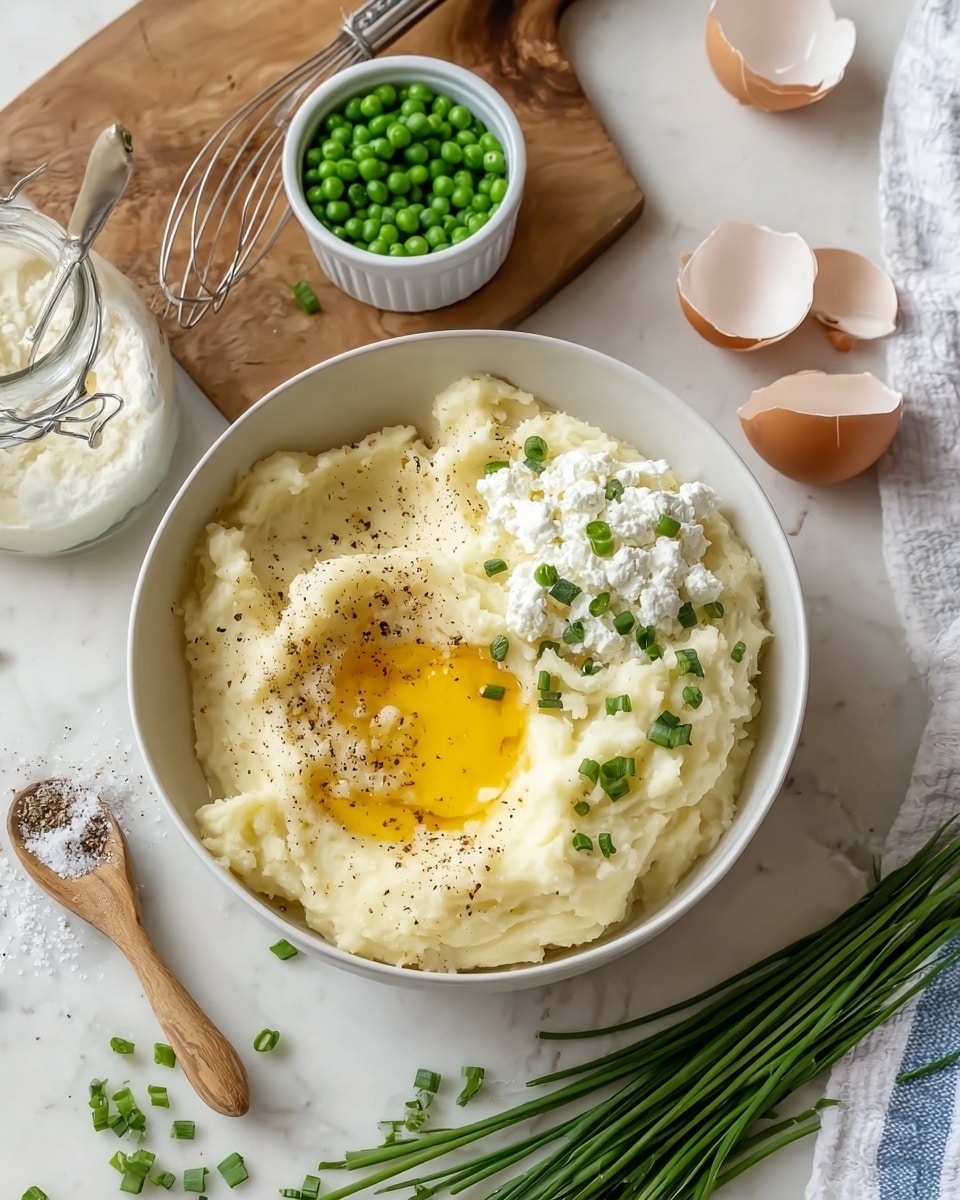
The beauty of this Hearty Stuffed Potato Nests Recipe lies in its simplicity. Each ingredient is carefully chosen to create layers of flavor and texture that complement one another perfectly, turning humble potatoes into a memorable dish. From the silky butter to the punch of fresh chives, every component plays an essential part in this culinary creation.
- 4 large russet potatoes: These starchy potatoes are perfect for baking and create sturdy shells with fluffy interiors for the filling.
- 3 tablespoons unsalted butter, melted: Butter lends richness and silkiness to the mashed potato filling.
- 1/2 teaspoon garlic powder: Adds a subtle, savory depth without overpowering the other flavors.
- 1/2 teaspoon onion powder: Complements the garlic with a delicate sweetness and aroma.
- 1/2 teaspoon salt: Enhances all the flavors and balances the richness of the dish.
- 1/4 teaspoon black pepper: Offers a gentle finish of warmth and spice.
- 1 cup shredded cheddar cheese: Sharp and melty cheese creates that irresistible golden topping and creamy filling.
- 1/4 cup sour cream: Adds tanginess and moisture, keeping the filling smooth and luscious.
- 2 tablespoons fresh chives, finely chopped: Brings a fresh, mild onion flavor and a pop of green color to brighten the dish.
- 1 large egg, lightly beaten: Acts as a natural binder to hold the filling together as it bakes.
How to Make Hearty Stuffed Potato Nests Recipe
Step 1: Bake the Potatoes
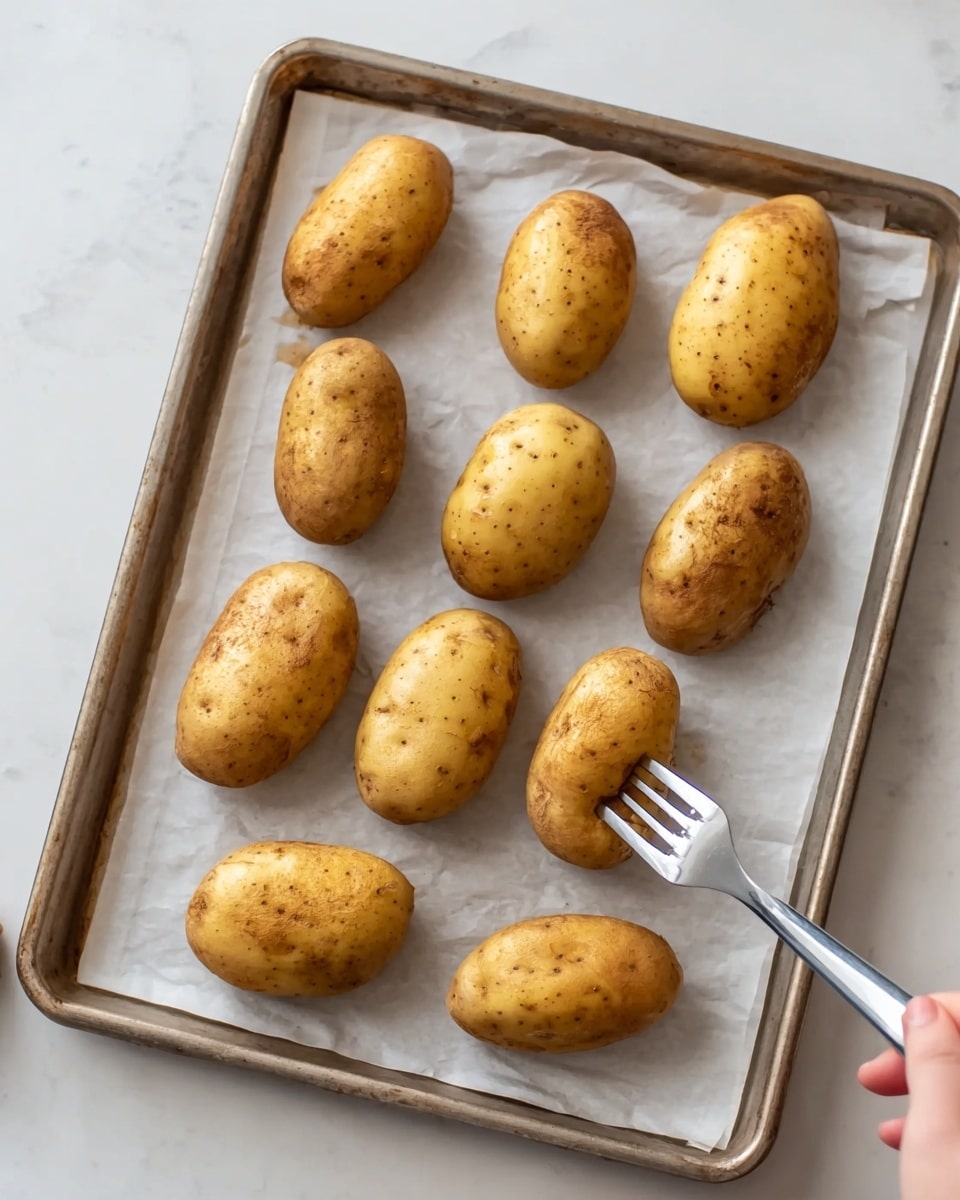
Start by preheating your oven to 400°F. Pierce each russet potato several times with a fork to allow steam to escape while baking. Place the potatoes directly on the oven rack—no need for foil—and bake for 50 to 60 minutes. You will know they are ready when a fork slides in easily, signaling tender interiors. Let them cool just enough so they can be handled safely for the next step.
Step 2: Prepare the Potato Shells
Slice each baked potato in half lengthwise, carefully scooping out the fluffy flesh and leaving a sturdy 1/4-inch shell. These shells will become your charming potato nests, so make sure to handle them gently. Place them on a parchment-lined baking sheet for easy cleanup and set aside.
Step 3: Make the Filling
In a large bowl, mash the scooped-out potato flesh with the melted butter. Then add garlic powder, onion powder, salt, and black pepper, blending well until the mixture is smooth and flavorful. Stir in the shredded cheddar cheese, sour cream, and the finely chopped fresh chives for a fresh burst of flavor. Finally, gently fold in the beaten egg to help bind everything together during baking.
Step 4: Stuff and Bake the Potato Nests
Spoon the creamy filling back into the potato shells, mounding it just a bit to create a visually inviting nest. Lower the oven temperature to 375°F for the final bake. Bake the stuffed potatoes for 20 to 25 minutes, or until the tops are lovely and golden, with edges that crisp up slightly. The result is a perfect balance of creamy and crisp that will delight every bite.
Step 5: Cool and Serve
Allow the potato nests to cool for about 5 minutes before serving so they set just slightly and are easier to handle. Now you’re ready to enjoy your creation—a true comfort food masterpiece from your own kitchen!
How to Serve Hearty Stuffed Potato Nests Recipe
Garnishes
To make your Hearty Stuffed Potato Nests Recipe even more special, consider sprinkling some extra chopped fresh chives or freshly cracked black pepper on top right before serving. A dollop of sour cream or a sprinkle of crispy bacon bits can also add delightful texture and flavor contrasts. These simple garnishes elevate presentation and taste, making the dish feel festive and polished.
Side Dishes
Serve these potato nests alongside a fresh green salad or steamed seasonal vegetables to balance the richness. A crisp arugula salad with lemon vinaigrette or roasted broccoli with garlic pairs beautifully. They also complement grilled chicken or a simple pan-seared fish for a complete, hearty meal that satisfies without weighing you down.
Creative Ways to Present
If you want to impress guests or simply have fun, try serving these potato nests in mini muffin tins for bite-sized appetizers, or top each with a sunny-side-up quail egg to create an eye-catching brunch option. Layering some sautéed mushrooms or caramelized onions inside the filling adds another dimension of flavor, making each nest uniquely yours.
Make Ahead and Storage
Storing Leftovers
Any leftover potato nests can be refrigerated in an airtight container for up to 3 days. Make sure they cool completely before sealing to prevent sogginess. When ready to eat, bring to room temperature for more even reheating.
Freezing
To freeze, place the assembled but unbaked potato nests on a baking sheet and freeze until solid, then transfer them to a freezer-safe container or bag. They keep well for up to 2 months, making it easy to prepare a batch in advance for busy days or unexpected guests.
Reheating
Reheat the nests in a preheated oven at 350°F for 15 to 20 minutes, or until heated through and the tops regain their golden crispness. Avoid microwaving if possible, as it can make the shells soggy and the filling unevenly warmed.
FAQs
Can I use sweet potatoes instead of russet potatoes?
Yes! Sweet potatoes add a lovely natural sweetness and vibrant color to the nests. The cooking process is similar, but keep an eye on baking time as sweet potatoes may cook slightly faster or slower depending on size.
What can I add to make the filling more protein-packed?
To boost protein, you can stir in cooked and crumbled bacon, diced ham, cooked chicken, or even cooked ground beef before stuffing the potato shells. Just be sure to adjust salt accordingly.
Is it necessary to use an egg in the filling?
The egg acts as a binder to hold the filling together, especially when baking. If you prefer to skip it, try adding a tablespoon of cream cheese or more sour cream for moisture, but the texture might be slightly looser.
Can I make this recipe vegetarian or vegan?
For a vegetarian version, the recipe already fits well. To make it vegan, substitute butter with plant-based margarine, use vegan cheese, and replace the egg with a flaxseed or chia egg. The sour cream can be swapped with vegan sour cream alternatives.
How can I make the potato shells extra crispy?
After scooping out the potato flesh, brush the shells lightly with melted butter or olive oil before baking. Baking on a hot oven rack helps air circulate around the shells, creating crispiness all around.
Final Thoughts
There is something truly soul-warming about this Hearty Stuffed Potato Nests Recipe that feels like a delicious hug from the inside out. Its blend of creamy textures and golden crunchy shells makes it an instant classic worth making again and again. So go ahead, gather these simple ingredients and treat yourself and those you love to a dish that’s cozy, comforting, and absolutely satisfying. You won’t regret it!
“`
Print
Hearty Stuffed Potato Nests Recipe
- Prep Time: 15 minutes
- Cook Time: 1 hour 15 minutes
- Total Time: 1 hour 30 minutes
- Yield: 8 stuffed potato nests (4 potatoes halved)
- Category: Side Dish
- Method: Baking
- Cuisine: American
- Diet: Vegetarian
Description
Hearty Stuffed Potato Nests are a comforting and delicious baked dish featuring tender russet potato shells filled with a creamy, flavorful mixture of mashed potato, cheddar cheese, sour cream, and fresh chives. Baked to golden perfection, these potato nests make a perfect side or satisfying vegetarian main.
Ingredients
Main Ingredients
- 4 large russet potatoes, scrubbed clean
- 3 tablespoons unsalted butter, melted
- 1/2 teaspoon garlic powder
- 1/2 teaspoon onion powder
- 1/2 teaspoon salt
- 1/4 teaspoon black pepper
- 1 cup shredded cheddar cheese
- 1/4 cup sour cream
- 2 tablespoons fresh chives, finely chopped
- 1 large egg, lightly beaten
Instructions
- Preheat and bake potatoes: Preheat your oven to 400°F. Pierce each potato several times with a fork to allow steam to escape. Place the potatoes directly on the oven rack and bake for 50 to 60 minutes until they are tender when pierced with a fork. Remove and let cool slightly so they can be handled safely.
- Prepare potato shells: Once cooled, cut each potato in half lengthwise. Using a spoon, carefully scoop out the flesh, leaving about a 1/4-inch-thick shell to hold the filling. Arrange the hollowed potato shells on a baking sheet lined with parchment paper.
- Mash the filling: In a large bowl, mash the scooped potato flesh with melted butter, garlic powder, onion powder, salt, and black pepper until smooth and well combined.
- Add cheese and herbs: Stir in shredded cheddar cheese, sour cream, and chopped fresh chives into the mashed potatoes. Mix thoroughly for a creamy, flavorful filling.
- Incorporate egg: Gently fold the lightly beaten egg into the potato mixture to bind it together, ensuring the filling holds its shape once baked.
- Stuff the potato shells: Spoon the prepared filling back into each hollowed-out potato shell, slightly mounding the filling over the top for a nest-like appearance.
- Bake the stuffed potatoes: Lower the oven temperature to 375°F. Bake the stuffed potato nests for 20 to 25 minutes until the tops are golden brown and crispy.
- Serve: Let the potato nests cool for 5 minutes before serving, allowing the filling to set and making them easier to handle.
Notes
- Use russet potatoes for the best texture and sturdiness of the potato shells.
- The lightly beaten egg acts as a binder to help the filling hold together during baking.
- For extra flavor, try adding crispy bacon bits or diced green onions to the filling.
- These potato nests can be prepared ahead and baked just before serving.
- Leftover nests can be refrigerated for up to 2 days and reheated in the oven.


